Building an Awesome Home Office Space
In the United States it seems like most of us will be working from home at least until Q1of 2021. I was thinking about this the other day: when will we see infection levels low enough that masks will no longer be required AND such a decision won’t lead to a rebound of the virus? And… When will a vaccine be available and widely used? In other words… it’s going to be at least another 6 months.This isn’t meant to be depressing, rather quite the opposite. Knowing the work situation will be the same for the next 6 months gives me the opportunity to change things up so the next 6 months are better than the previous.
Nearly 4 years ago I had my own home office. It was a full room and I could keep the door closed to avoid distractions. Now my desk is in the middle of the living room and I have to deal with such a busy place.
If I truly want to make my work situation better for the next 6 months what changes should I make to build an awesome home office space? Additionally, what can I do that is convenient and cost effective? The answer I found is to use as much equipment as I have access to from work and home.
Desk
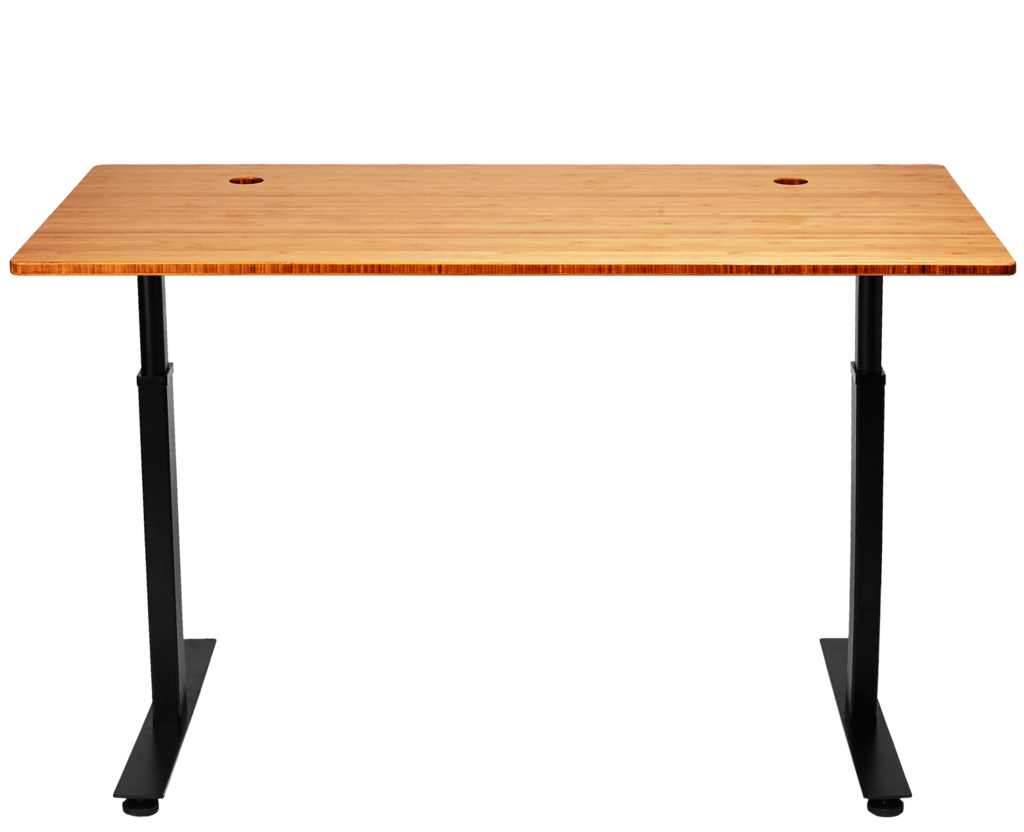
Back when I had a home office I bought a 60” bamboo standing desk from Standdesk.co. I love it. Quite literally it is the only thing to survive the transition of my home office into my son’s bedroom. It’s probably time to replace the bamboo top but I’ll do that when I want to spend some real money.
I stand for the first hour of my day and then intermittently throughout the day. Plus being able to put the desk all the way up makes it easier to get things out of the kids eye sight and reach!
Computer
A few months ago I upgraded my personal laptop from a 2015 15” MacBook Pro (MBP) to a 2020 13” MBP. This is a big change because nothing will work the same way. Around 2017 Apple started switching new MBP’s to only have USB-C ports which means you need adapters and dongles for everything. No regular USB ports, no HDMI, etc. This is another factor in my desire change my home office space.
My work laptop is also a 2015 15” MBP. This seems likely to change in the next year as the laptop battery fades. When it goes out I assume I’ll get a new 16” MBP. When that happens I’ll be in sync with my personal laptop in terms of ports but it will probably require a change in how this current layout is going to work.
Monitors
Given I had 15” MBPs for both work and home it made sense to just swap out the computer and leave the equipment the same. For home use, having a single 24” Apple Cinema display was fine. Day in Day out for work it has been constricting and I kept loosing track of my windows / multiple browsers.
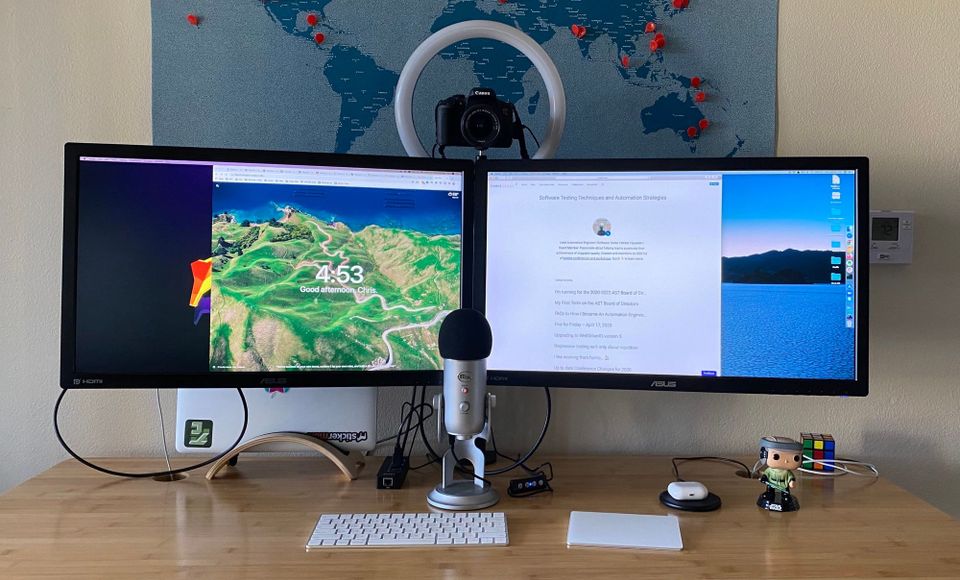
Meanwhile at work I had dual 27” ASUS displays hooked directly to my laptop via HDMI and miniDisplay. Having come to this realization, I went to the office a few weeks ago and picked them up. I purchased a Dual LCD monitor desk mount by VIVO, took the backs off the monitors and now I have 2 floating monitors with way more desk space! The dual monitors plus the free macOS app Spectacle allow me to move my work wherever I need.
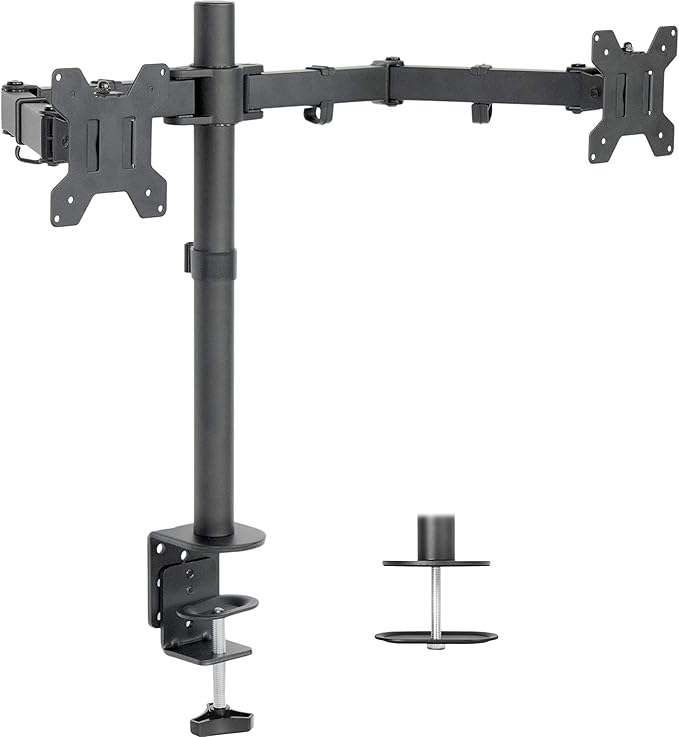
The downside to two large monitors like this is the bezel in the middle. If I were purchasing the equipment myself, I’d definitely do a desk mount with a single large curved monitor rather than dual monitors.
DSLR as a Webcam
This is the most obvious problem to address. My desk is against the wall and on my (many) daily Zoom meetings I always ended up grainy and dark. My Cinema Display has a really outdated webcam which doesn’t help. The camera built into the MBP is actually better except that I don’t typically have my laptop open.
In an attempt to remedy this I wondered if it was possible to use my old DSLR as a webcam. I have a Canon T2i primarily for use in scuba diving. After some research it seems quite complicated to take an older camera and use it as a webcam. HOWEVER it’s quite easy to turn my wife’s Canon T6i into a webcam simply by using Canon’s new beta software.

EOS Webcam Utility
A quick search for “Canon EOS WebCam Beta” landed me on a page where I selected my camera version and dowloaded the Mac driver. After rebooting, I attached a usb cable from my machine into the USB port on the DSLR and switched the camera to video mode. That’s it.
So far the beta software works ~90% of the time. Zoom picks up the software and camera. After a month of use there have been very few times when Zoom hasn’t worked. Google Hangouts / Google Meet has been another story. I very rarely use Google Hangouts and when I do it isn’t in Chrome (the only compatible browser). This has been the hardest thing to deal with but it’s generally not a big deal.
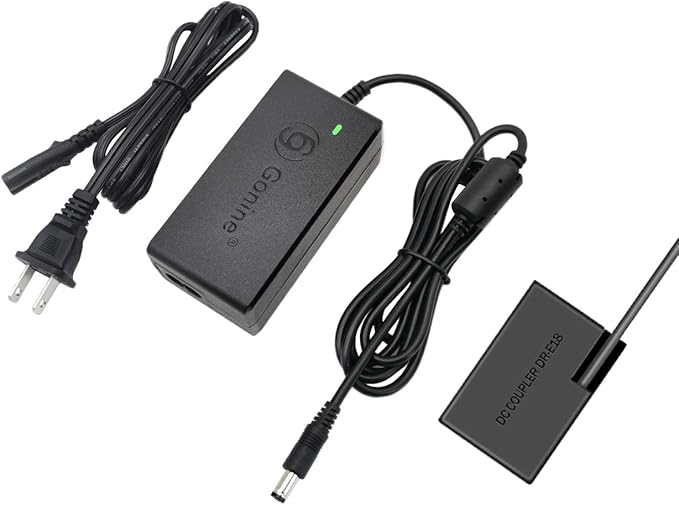
Camera Power
For the first week I set a tripod up behind my monitors, attached the DSLR and then swapped out 1 of my 3 batteries each time they died. The DSLR webcam proof of concept worked so well I purchased a power adapter. It’s definitely worth the $30 for the power adapter unit from Amazon:
Camera Light
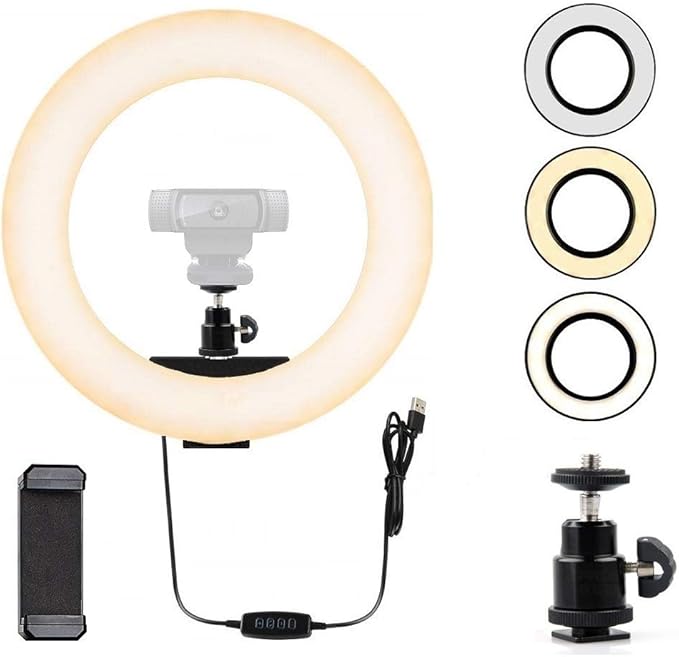
By adjusting the DSLR’s exposure settings to allow more light I saw an immediate improvement in video calls. However I wanted better lighting options for when it got dark, so I bought this Ring Light and mounted it onto my DSLR:
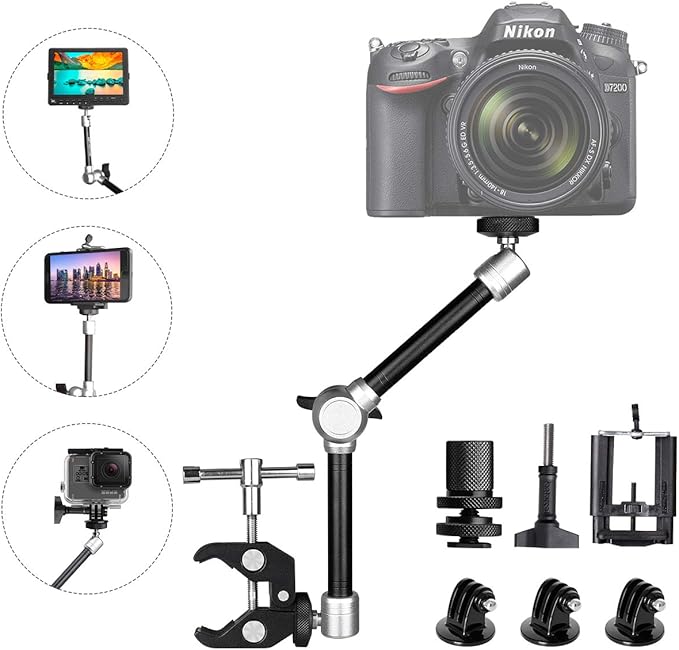
Finally it was time to get rid of the tripod. It took up a lot of room and as the desk moves it was quite easy for the tripod to slide off. Lastly the tripod was in the corner of my desk which made it difficult to get a good camera angle. I ended up getting a Fantaseal Magic Articulating arm, clipped the arm to my VIVO monitor stand and mounted the light to the other end of the arm. Then I mounted the DSLR to the light. It works for now.
Microphone
For Christmas of 2017 I received a Blue Yeti USB microphone as a gift. Shortly after I put it on a boom with a shock mount and attached it to my desk. Then I forgot about it. For roughly 2 years it might have used a half dozen times. Turns out I had little need for better microphone so I didn’t embrace it. I mostly switched to using my AirPods.

Today the boom is gone and it’s location is really convenient. I tested the differences between AirPods as my microphone vs the Blue Yeti by recording myself talking in Zoom and then playing them back. The sound quality isn’t even close. More importantly the first time I began using the new microphone my coworkers brought it up in the call. Apparently the quality was so much better they noticed it!
FWIW I find myself speaking a lot softer when it’s on because I know it’s going to pick up my voice really well, which has other benefits like not waking my son up from his naps. The Yeti lives!
A Convenient and Awesome Home Office Space
Once I put my mind to making this work situation better, I found lots of interesting uses for equipment I already owned. Better yet, I love this setup!
In total I spent about $165 and most of that was for equipment around the camera. The only thing I might tweak going forward is how I’ve mounted the camera. I wish there was a slightly more stable way.
Member discussion