How to take a screenshot and record video in macOS

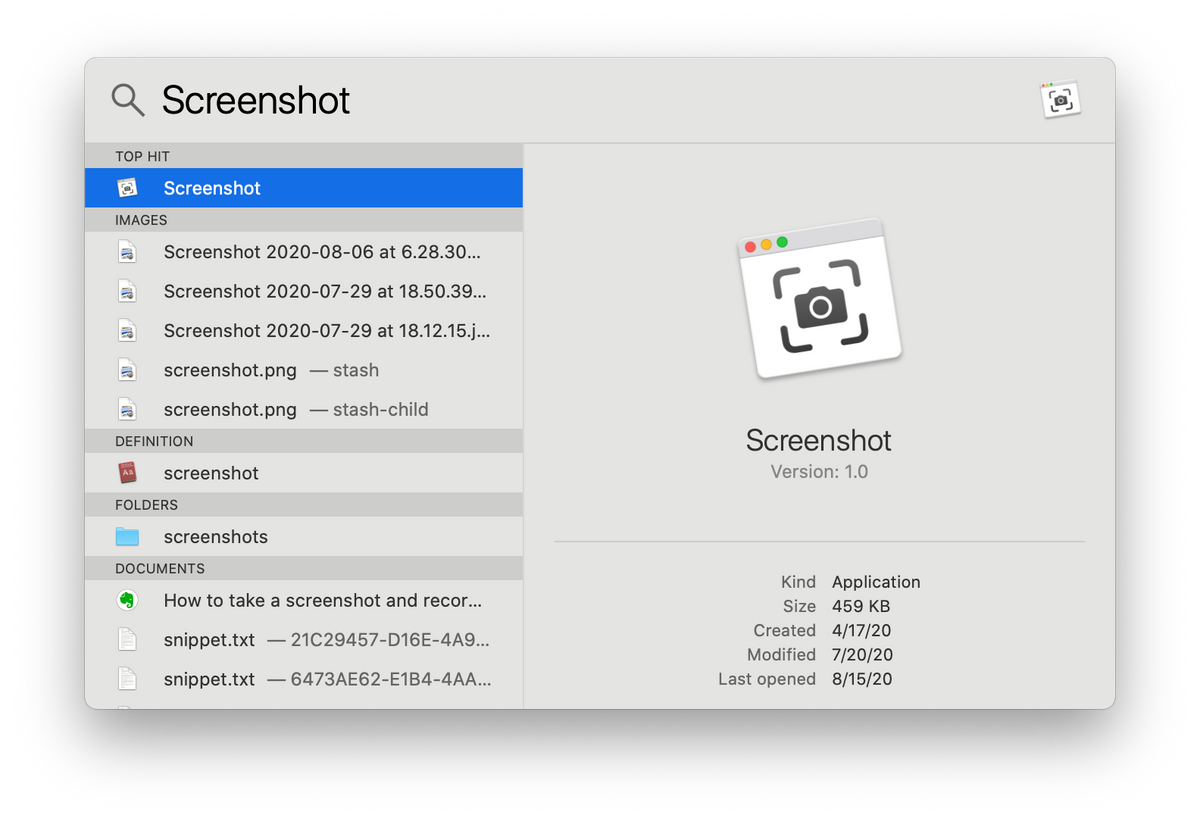
One of the nice things about macOS are the built-in tools. A recently improved upon built-in tool is called Screenshot which allows users to take a screenshot and record video. Taking screenshots has been around macOS forever, but taking video directly from OS shortcuts came along in macOS Mojave. The challenge is remembering the commands.
This tutorial is an attempt to capture the quick commands / shortcuts to make this process easy.
Record A Video of Your Screen
Shift + Command + 5
This will launch Screenshot. You’ll see a menu bar pop up with options.
Select either Record Entire Screen or Record Selected Portion
Once you are ready, press record!
Shift + Command + Esc to stop
This is the easiest option but there are others: Click on the icon in the top bar OR press Command + Shift + 5 to bring up the menu again.
Take a Screenshot
As I said above taking a screenshot is not new but there are a few additional options:
Shift + Command + 4 will take a screenshot of a selected area of the screen

- This will bring up a cursor with coordinates and allow you to drag out the area you want to screenshot
Shift + Command + 4 + space bar will take a screenshot of a selected window

- A more focused approach. Rather than drawing around the screen just identify it quickly and go.
Shift + Command + 3 will take a screenshot of the Entire Screen

- This will take a screenshot across however many monitors you have
Looking for more useful macOS keyboard shortcuts? There are quite a few.
