Installing Ghost Locally on macOS with hot-reload of templates

This site is built on Ghost, an open-source, professional publishing platform, and is hosted through GhostPro. For a small annual fee, all of the infrastructure stuff is taken care of, yet I have the flexibility to edit the theme(s) and make them my own. Ghost is pretty great.
To take advantage of this flexibility, I wanted to set up a local Ghost environment on my mac. From my goal was to install their starter themes and figure out how to sync them so any changes would be automatically (or near-automatically) updated on the site. I wanted a true local development environment so I could see and test the changes I’m making. I finally got this working and wanted to document the setup process.
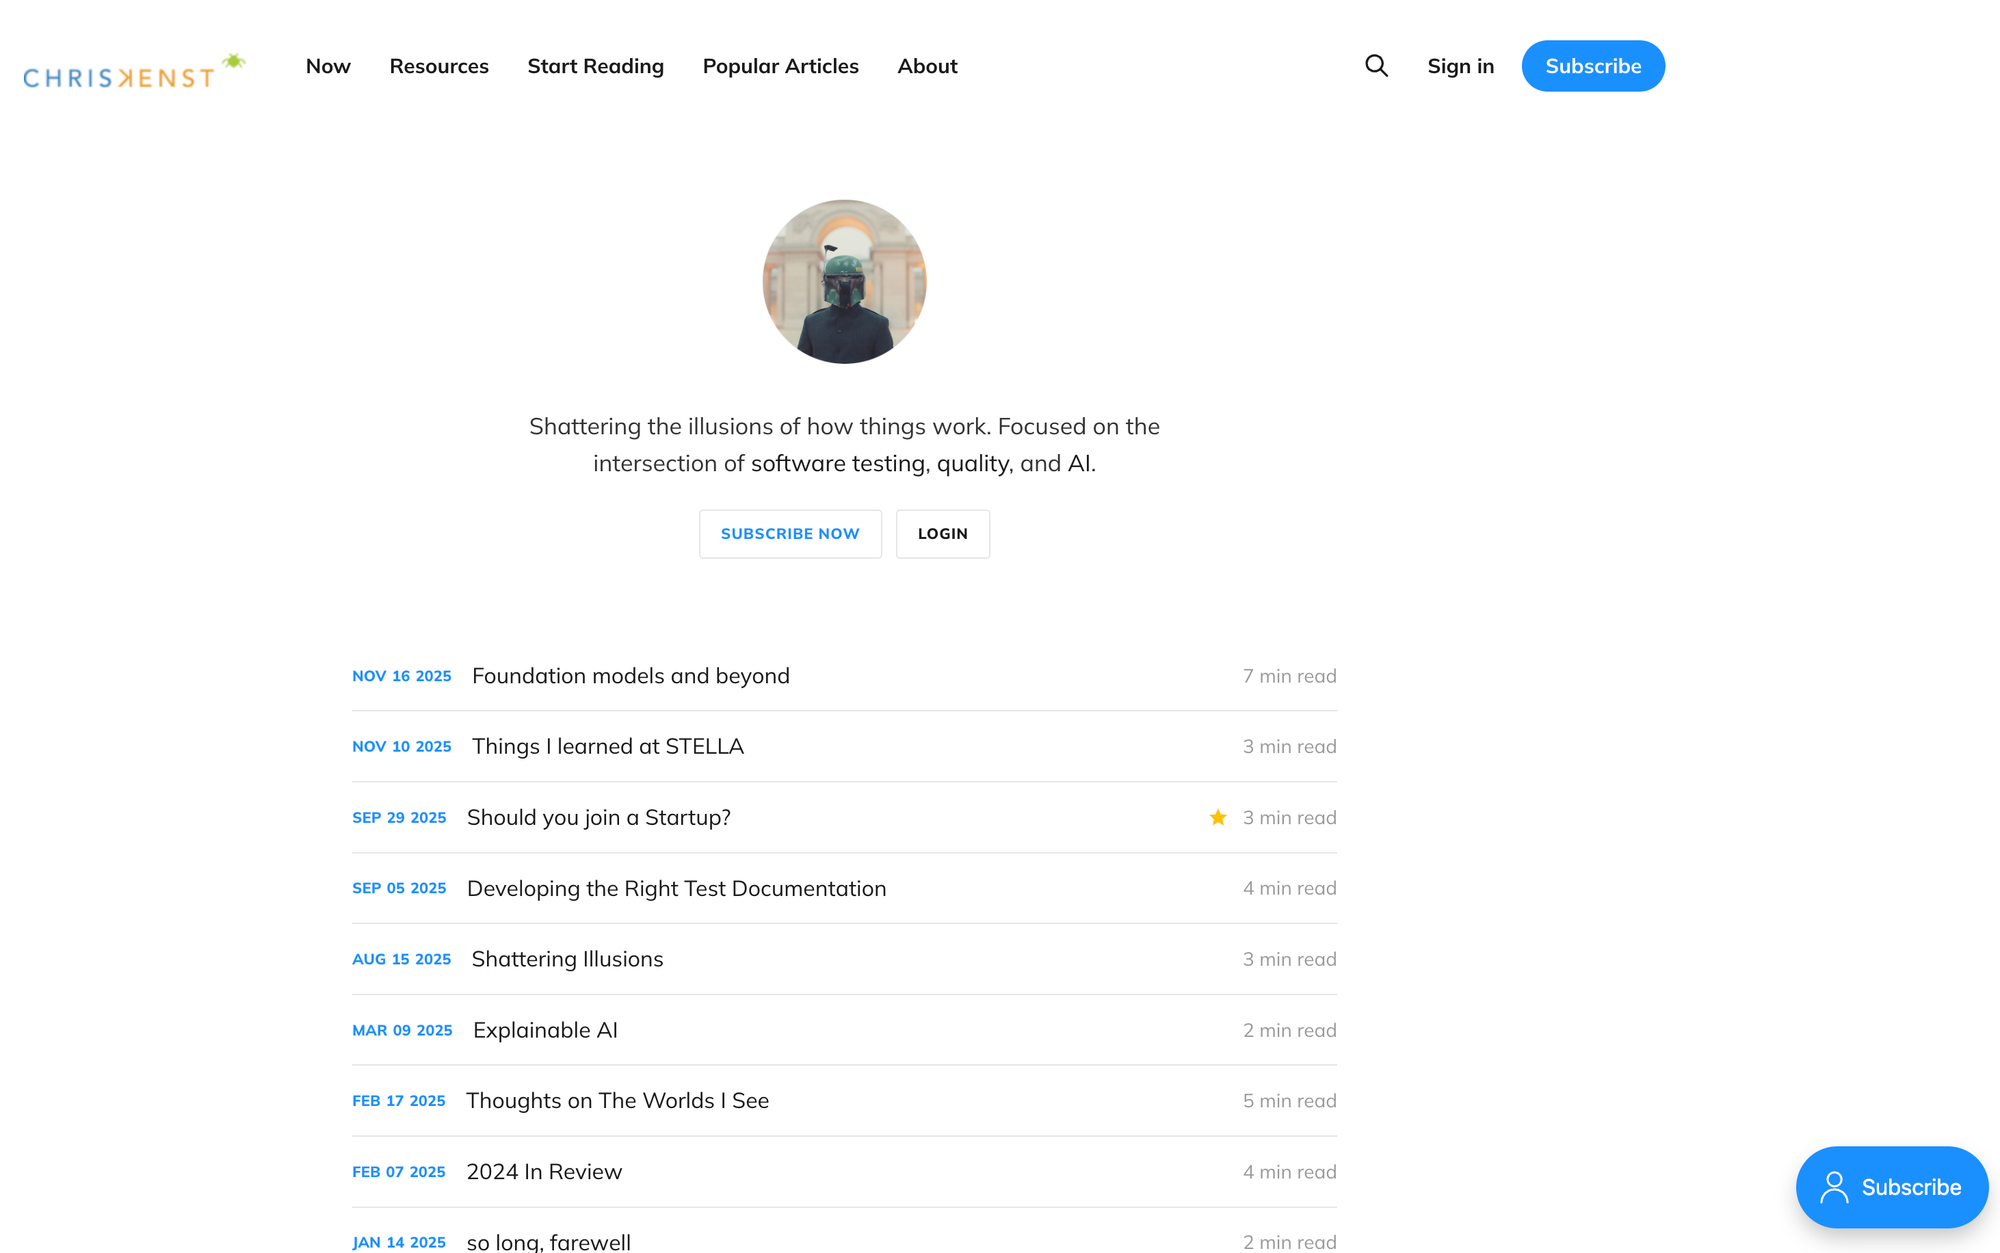
But first, I’m swapping out the theme for this site. Going from Digest to Dawn. Take a look:


Before and After
I want to be able to easily view my published articles. Digest was built for instant reading, making it difficult to browse other articles and make selection. In a way they are complete opposites. Digest encourages you to start reading immediately but makes it hard to browse for additional content. Dawn allows you to find something to read, but the initial view is a list rather than an article.
How to Install Ghost Locally on macOS
Ghost’s own instructions are pretty good here.
Install prerequisities
To install Ghost (and its themes) locally, you'll need the following prerequisites:
Install Ghost command line
The Ghost CLI is the command-line tool to run Ghost’s server.
npm install ghost-cli@latest -g
Install Ghost into your directory
This command will install all the Ghost files into your specified directory. I used a specific directory for this tutorial; feel free to use your own. As you’ll see the directory details will become important later when setting up symbolic links between the themes and the Ghost files.
Make a directory:
mkdir ~/Development/ghost-theme-dev
cd ~/Development/ghost-theme-dev
Install Ghost:
ghost install local
Start Ghost:
ghost start
This will give you a url http://localhost:2368/ghostthat you can access to set up your site.
However, before we go further, let’s download and set up the themes.
Install TryGhost Themes
Clone the theme repo so we can set up the symlink.
cd ~/Development
git clone https://github.com/TryGhost/Themes.git
In my case, this means the Dawn theme is now located at:
~/Development/Themes/packages/dawn
Install the Theme requirements:
yarn install
Now let’s link the Dawn theme from the Themes repo into the local Ghost installation. This way, instead of Ghost looking at it’s own local them files, it will look in this new Themes directory. To do that we’re going to create a symbolic link or symlink:
ln -s ~/Development/Themes/packages/dawn \\
      ~/Development/ghost-theme-dev/content/themes/dawn
If we check the repo using ls -la we should see something like:
dawn -> /Users/ckenst/Development/Themes/packages/dawn
Running Ghost
Now that we’ve installed Ghost, downloaded the Themes and set up a symlink between the two directories, we can run Ghost.
If Ghost was already running, simply use ghost restart. Otherwise, in one terminal window (in the ghost-theme-dev directory), run ghost start. This starts the Ghost server.
Once Ghost loads, go into the web interface and set your theme as Dawn.
Inside the theme terminal window (in Themes/packages/dawn directory), run yarn dev . This will build all the things and provide hot-reloading as you make changes to the theme.
Enjoy!

Member discussion